Set up your client details, logos and styles.
To get started with Zembeddables, locate the Embeddable menu in the zendit console.
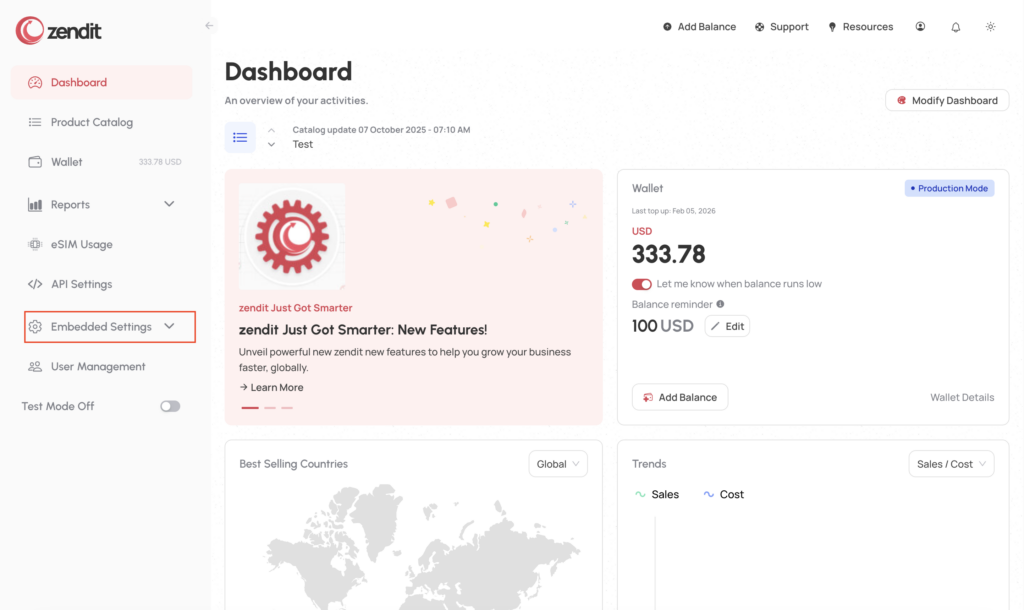
Next, select the Client Setup
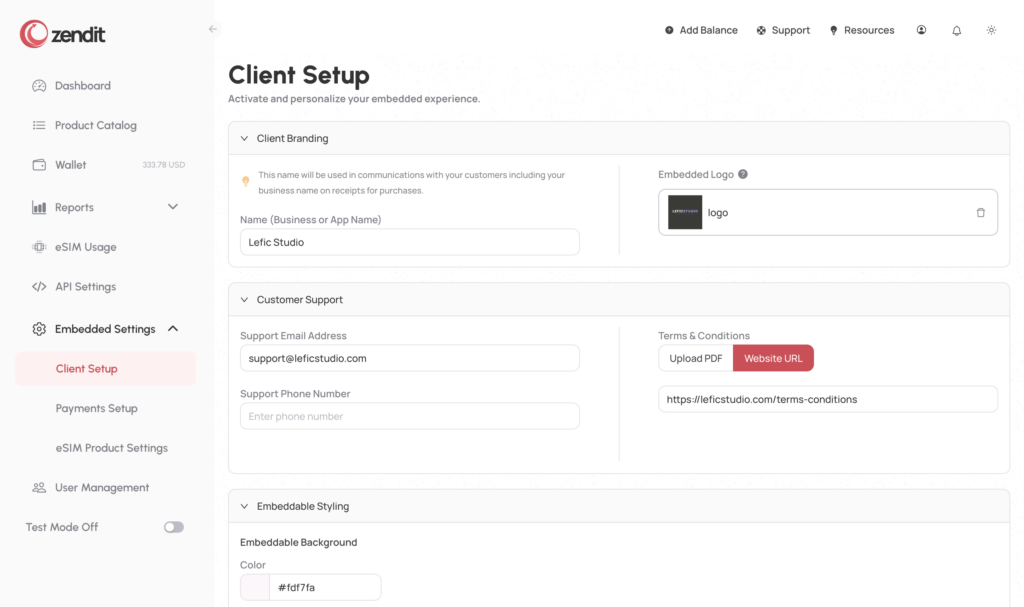
You’re now ready to setup your client profile.
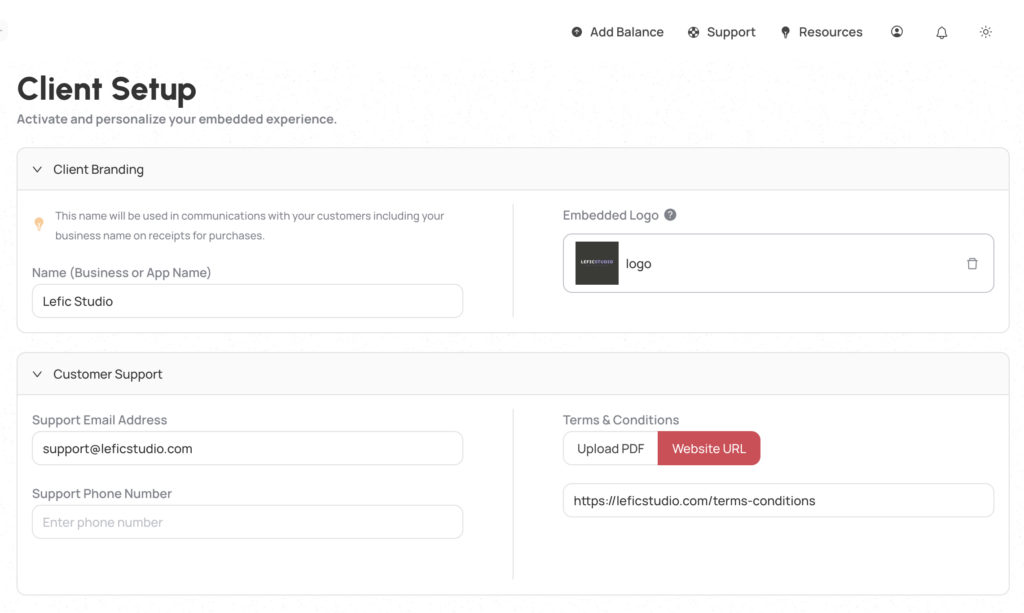
In the branding area of the Client Setup, add the name of your app or business. This will be presented to the user on receipts that they receive via email.
Next upload a print quality logo that will be added to the receipt to identify your app or business.
In the customer support section, an email address is required for customers to contact you for support. If you need a hand for customer issues you can’t answer yourself, you can always escalate questions to zendit’s support team to help you support your customers.
You may optionally include a contact telephone number so your customers can call you for support.
Terms and Conditions for your business can be included on receipts and the Zembeddable either as a PDF uploaded or using a website link. Depending on the laws of where you are selling, Terms and Conditions are an important set of information for your customers.
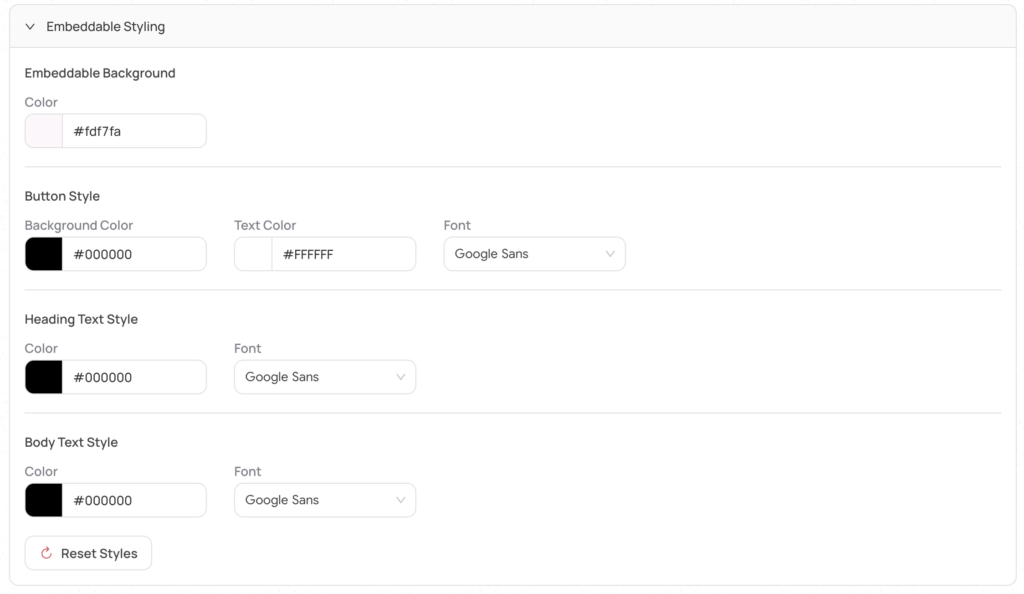
Zembeddabe supports a minimal amount of styling with support coming for more options in the future.
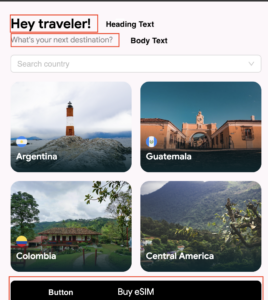
Currently you can select the color for the background of your Zembeddable. You may select it from a drop down color picker or if you have a specific webcolor you may enter it.
For buttons. on the Zembeddable, you may select a button background color, text color and a font to use. Currently only Google Open Fonts are supported but we have plans to add the ability to add webfonts that you may link to that match your app or site fonts.
Heading text styles control the headings in the Zembeddable and you may select a font and color for the text.
Body text styles the text throughout the embeddable and allows selection of a font and color.
If you find problems with display of your Zembeddable, you can always reset the colors and start over.
Once satisfied with your settings, save and continue to Payment Setup.
